Cherry season is here! Every year I hesitate buying cherries because I personally prefer strawberries or raspberries. Then every year I’m reminded that I actually love cherries, maybe even more than strawberries. For those of you who know me and my journey, cake is actually how I got started. I took a week long course at Fair Cake in London, then came back to Paris and started selling cakes on the side. I love making cakes, I truly do! However due to studying for the CAP, I had to take a step back and focus mainly on la patisserie française. Anyways, back to the cake. My sister-in-laws 20th birthday was this past week and she requested a cake for the party with her friends. Of course I was more than happy to oblige.
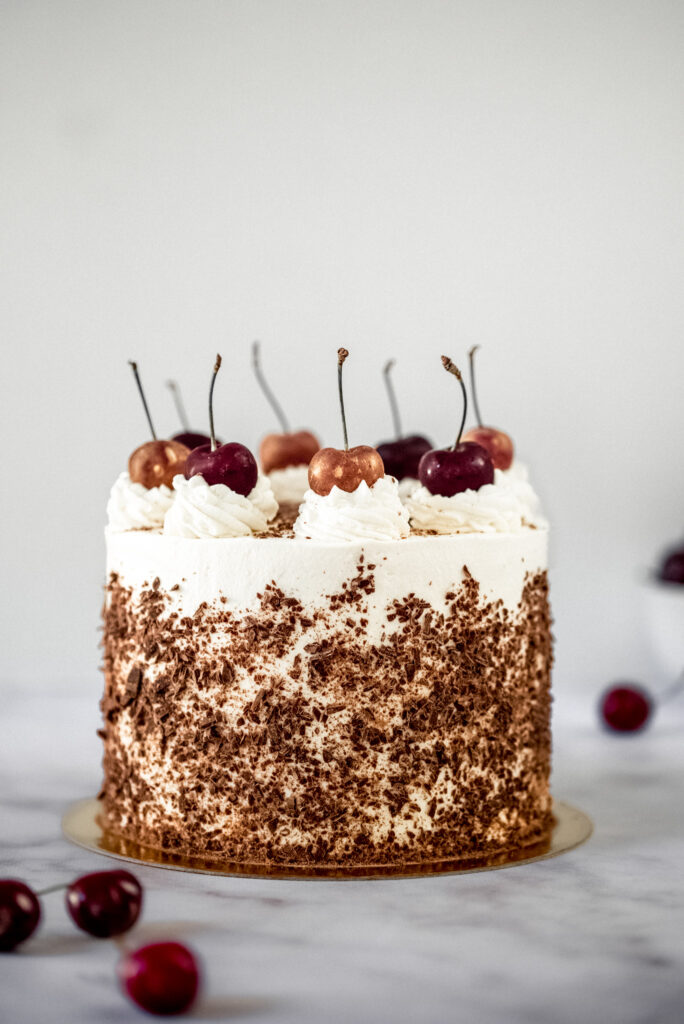
Black Forest Cake is based on the German dessert Schwarzwälder Kirschtorte, literally “Black Forest Cherry-torte”. It typically consists of layers of chocolate cake, with a cherry filling and whipped cream frosting. Thanks to the whipped cream frosting, the cake it much lighter than a typical American cake with buttercream.
Chocolate Cake
I used my, ever so trusty, devils chocolate cake recipe. If I have ever make a chocolate cake for you, it most likely was this recipe that I used. The cakes bake perfectly, without too much of a dome, meaning less waste when trimming the tops for assembly. The cakes themselves are moist and have a delicate crumb. Rather than using water for this recipe, I use freshly brewed coffee, which creates a richer, deeper chocolate flavor. You can however, use water if you wish.
Whipped Cream Frosting
For most of my cakes, I tend to use a Swiss meringue buttercream. Not only does it taste better than American buttercream (in my opinion) but I find it not as sweet, which gives it extra brownie points in my book. However, Black Forest Cake is always made with whipped cream frosting, which is part of why it’s so light.
I wanted to be able to assembly the cake as I normally would but knew that the cake wouldn’t be served right away and was worried about the whipped cream frosting holding up. So I needed to stabilize the frosting. There are two ways to stabilize frosting – gelatin or corn starch. I tried my hand with gelatin (halal certified). The resulting frosting was light and held its own, however I did find pieces of gelatin that had climbed up during the mixing process. So I decided to go with the corn starch route.
Cherry Filling
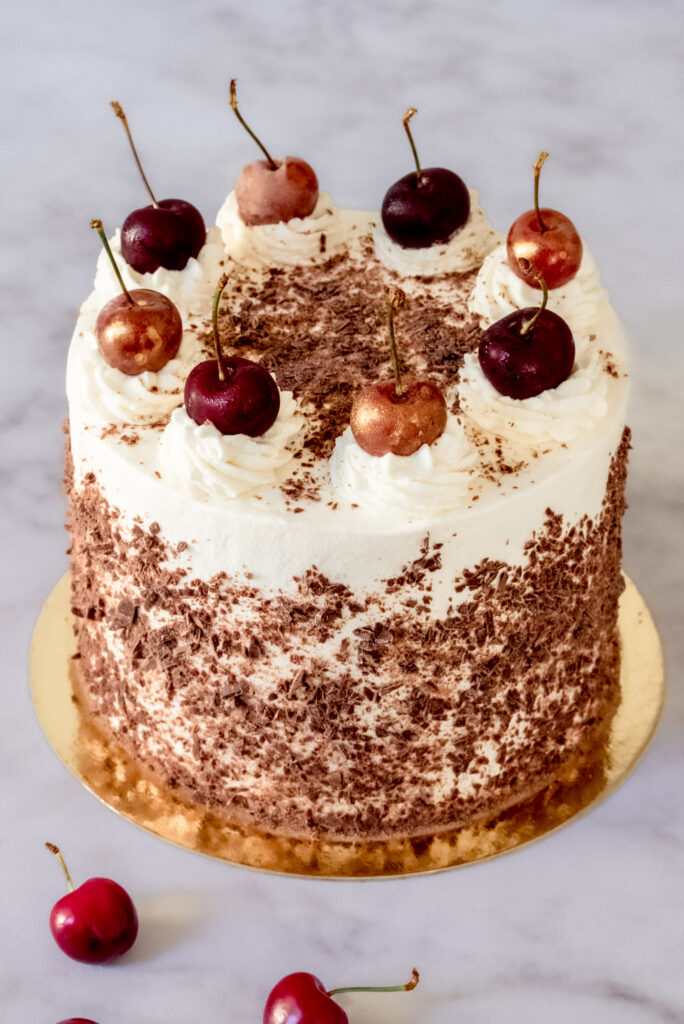
In many Black Forest Cake, the cherry filling is quite often a preserve or pie filling. If you haven’t noticed on the blog, I am a firm believer of letting the fruit run the show, so I opted to use fresh cherries. They are in season after all! Personally, I cut the cherries in half and spread them out in between each layer of cake. Before adding the next layer of cake, I put a bit more whipped cream frosting on top to hold them in place. Then of course, I decorated the top of the cake with some fresh cherries.
Assembly
If you’re quite new to stacking cakes, don’t worry, there will be a post on the block shortly. I’ll take you step by step! For now, the most important thing is to have flat tops. If your cakes have domed during baking, you’ll need to use a cake leveler or serrated knife to flatten the top.
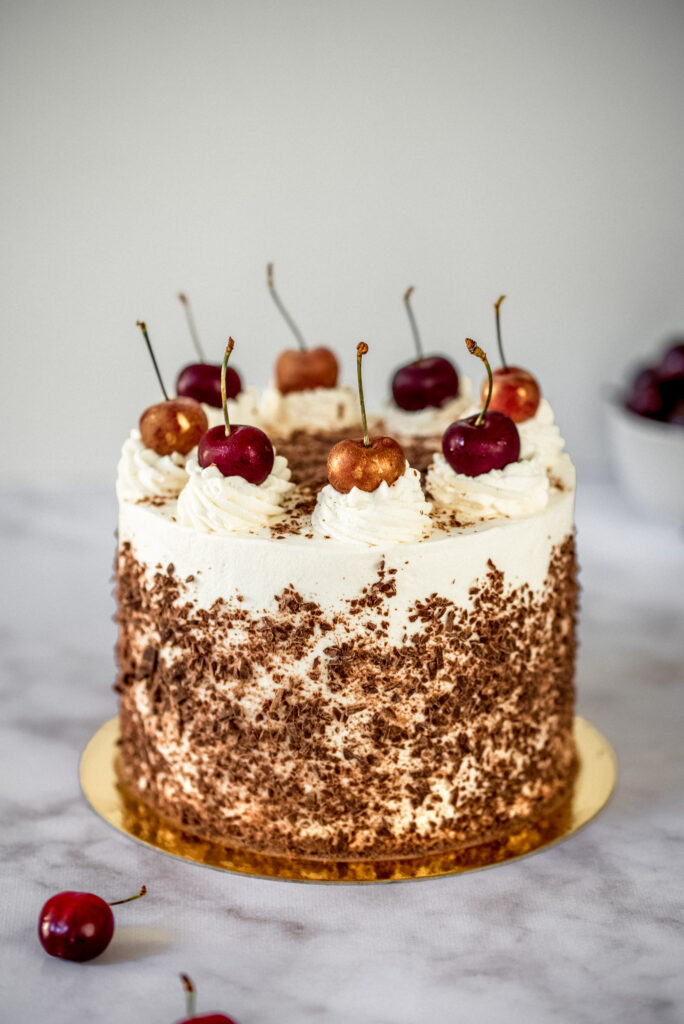
When you add the frosting, use an off set spatula to spread the icing in an even layer. Don’t be afraid to squat down and look at the top of the icing to see if it’s level. If you have level cakes and level layers of icing, your cakes will be even and you shouldn’t have any leaning towers of cake!
Black Forest Cake
Ingredients
Equipment
Method
- Preheat oven to 170°C (340°F). Line the bottom of the cake pans with a round of parchment paper.
- Mix all of the dry ingredients in a separate bowl. Set aside.
- In the stand mixer, cream the butter and sugar until light and fluffy, then add the vanilla and mix again.
- Add one egg at a time and mix thoroughly. Be sure to scrape down the sides and bottom of the bowl. Don't worry if the mixture looks curdled.
- In a separate bowl, add the boiling water to the cocoa powder. Mix well then add the cold milk to the mixture, cooling down the entire mixture.
- Add a third of the flour mixture to the creamed butter mixture then mix. Then add half of the cocoa and milk mixture, mix again.
- Alternate until everything is combined and thoroughly mixed. The final batter will be much runnier than your average cake mix.
- Divide into three 6-inch cake pans and cook until the sides shrink slightly. Depending on the oven, this should take anywhere between 25-30 minutes. Check after 25 minutes. A toothpick should come out with a few moist crumbs.
- Transfer to a cooling rack and let cool for 15 minutes, before removing from the pans to cool further *see note*
- Put the bowl and whisk in the freezer for 15 minutes before starting.
- Add the whipped cream and start to whisk. Stop once you have loose peaks.
- Add the powdered sugar, corn starch and vanilla. Continue to whip on medium high speed until you have stiff peaks.
- In a sauce pan, bring the sugar and water to boil. Let cook for 2-3 minutes or until the sugar has completely dissolved. This is your simple syrup. It will keep your cake moist and keep too many crumbs from getting into the layers of frosting.
- Put a bit of frosting down on the cake board and transfer one of the cake layers on top. This will act as a sort of 'glue' to hold it in place.
- Brush the top of the cake with the simple syrup.
- Add a big spoonful of frosting and using an off set spatula, even it out. Get down to eye level to make sure that the frosting layer is level.
- Add a handful of cherry halves and press down to seal them in place. Top with a bit more frosting and smooth over the cherries to keep them from moving around.
- Add another layer of cake and repeat.
- With your last layer, put the cut side down on top of the filling, so the bottom of the cake is now the top. Press into place.
- Add a bit of frosting to the top and smooth out. It doesn't have to be a lot, this is just the crumb coat.
- Repeat with the sides of the cake.
- Place in the fridge to let chill for at least 30 minutes
- Once the cake has chilled, you can proceed with the final coating of frosting. Add a big spoonful of frosting to the top and level it out.
- Proceed with the sides of the cake and use a cake scraper to smooth it out.
- Decorate the sides of the cake how you wish, I just tossed some shaved chocolate.
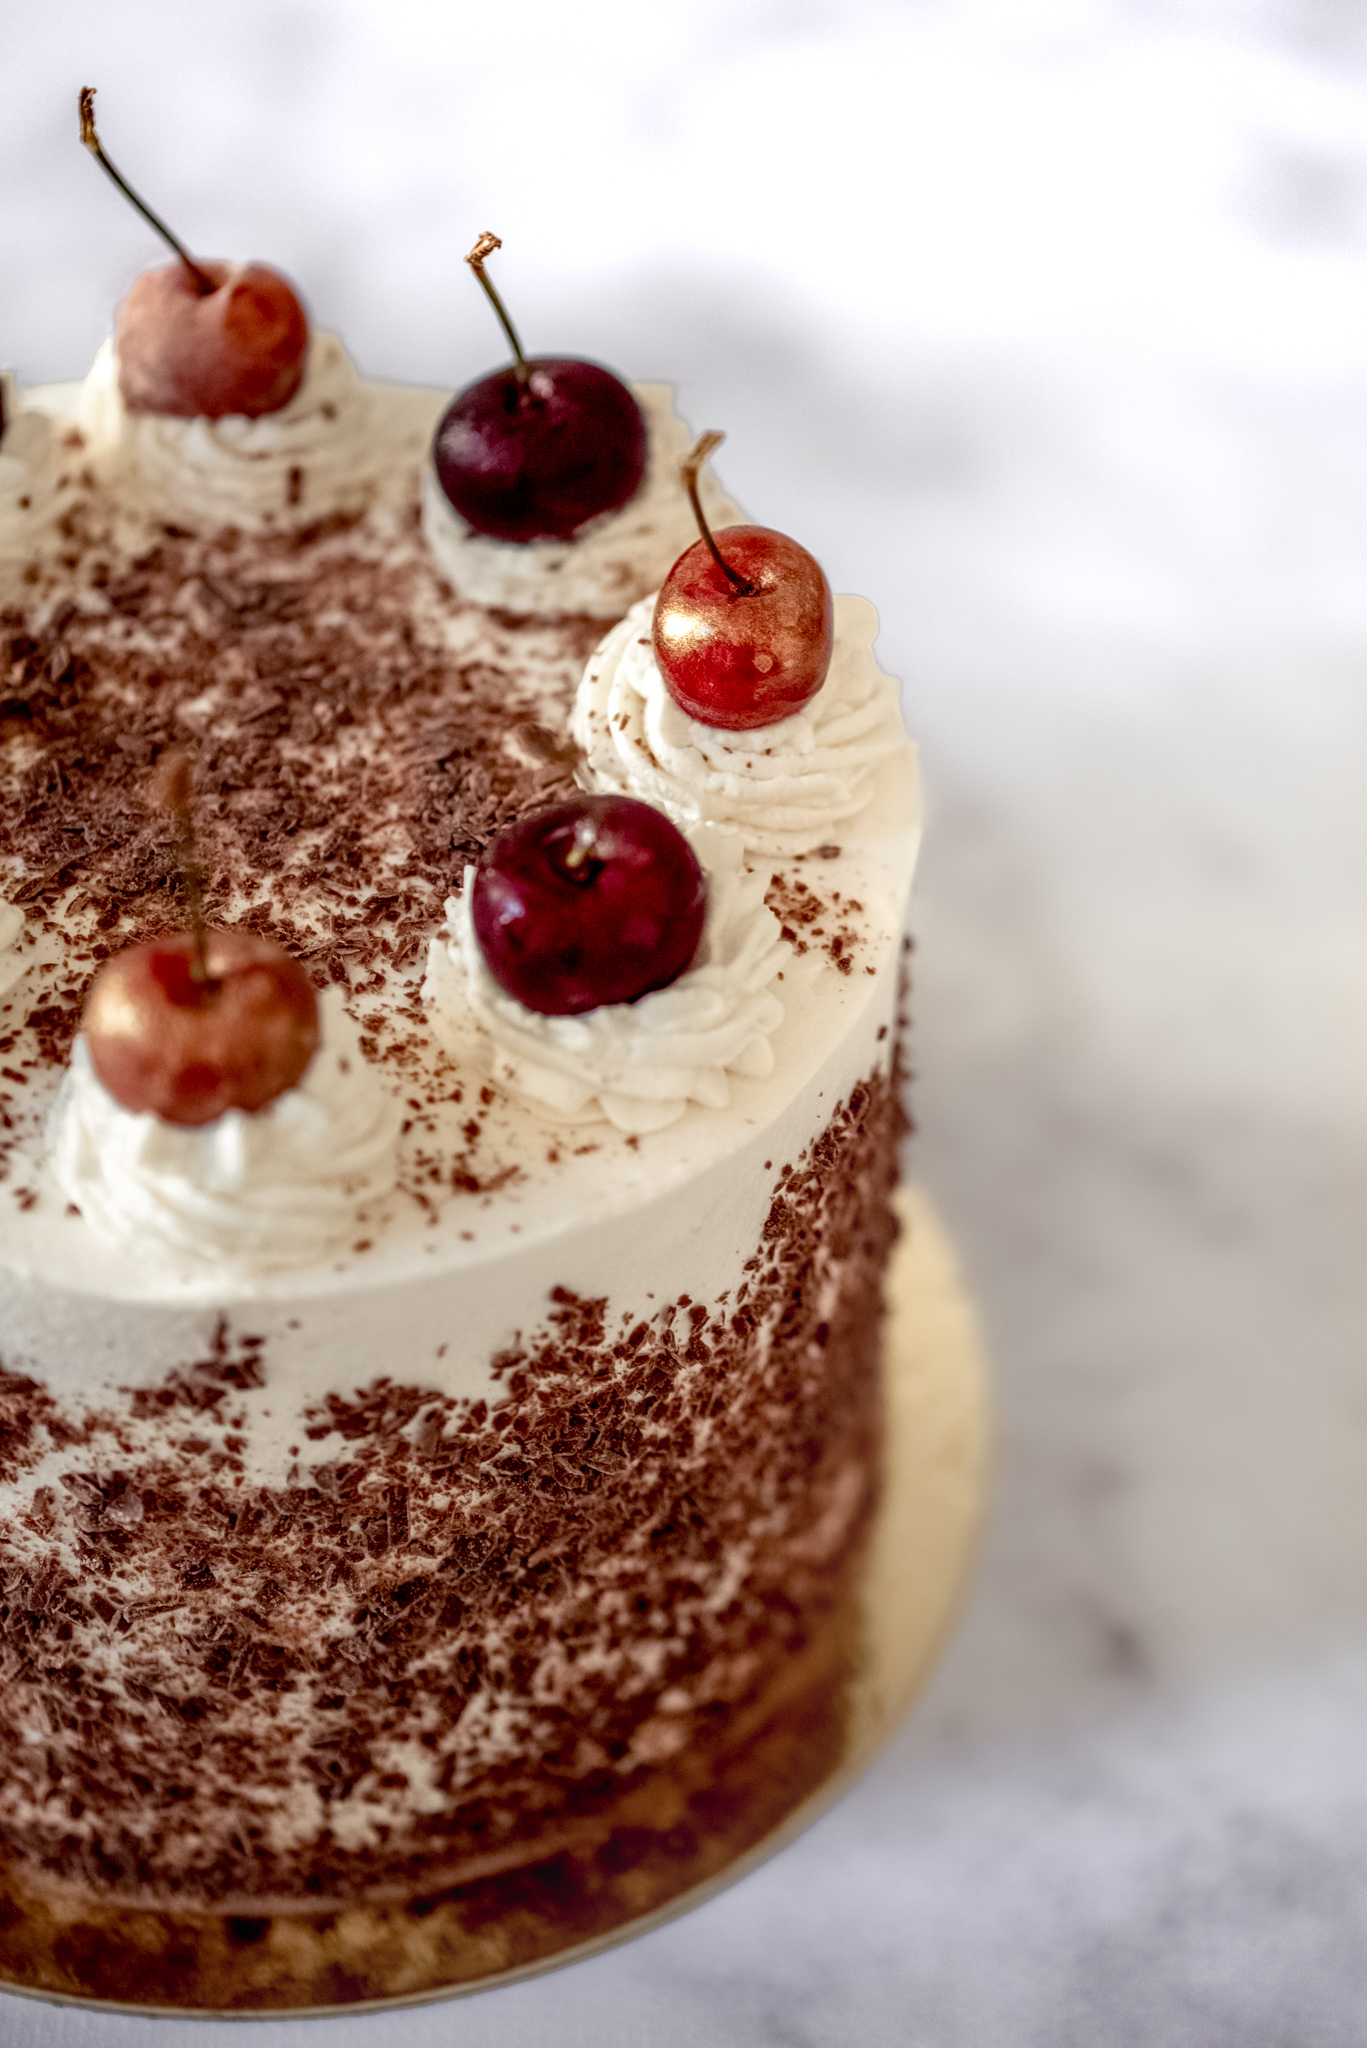
- Pipe little mounds on the top of the cake and top with fresh cherries.
- Chill until served.
Notes
- I personally make the cakes the day before, let cool then level them. Then I double wrap them in plastic wrap, before putting them in the freezer. By freezing the cakes, it helps them stay moist. Take them out the morning that you want to use them and decorate as normal.
- For cupcakes, divide into 16-20 cupcakes and check after 25 minutes or so.



Cake looks prefect and fabulous to bake for a special day. Yes its definitely a best black forest Cake. Lovely!!
Thank you so much for you comment! Yes, it is a great cake for a special occasion! Especially when those cherries are fresh! Thank you for stopping by the blog!
Really I happy to say your post is very valuable and informative thank you so much for providing this
Thank you so much! I’m happy to help!
Blackforest is one of the popular cake flavours. People love to eat this cake at parties like birthdays. Thank you for sharing this best cake recipe.
You’re very welcome! So happy you enjoyed it!
Thank you for this wonderful recipe dear , i definitely prepare this at home.
Aww thank you so much!
Great black forest cake recipe! Thanks for sharing the recipe with us.
My pleasure! Glad you enjoyed it! Happy baking!