Apple Tart, or tarte aux pommes, is one of the most popular french tarts. It’s up there with lemon meringue tart and just as easy to put together. This apple tart is one of my favorites and a much lighter version than it’s American counterpart.
To be honest, learning pastry abroad is a weird experience. Everyone of us has these memories of when we were kids, that involve food. Every time I learn something new, that is fairly similar to something we had growing up, I get all nostalgic. Apple tart does that to me, as apple pie was the first pie I ever learned how to make on my own… So although a tarte aux pommes isn’t too fancy or exotic, it does hold a special place in my heart.
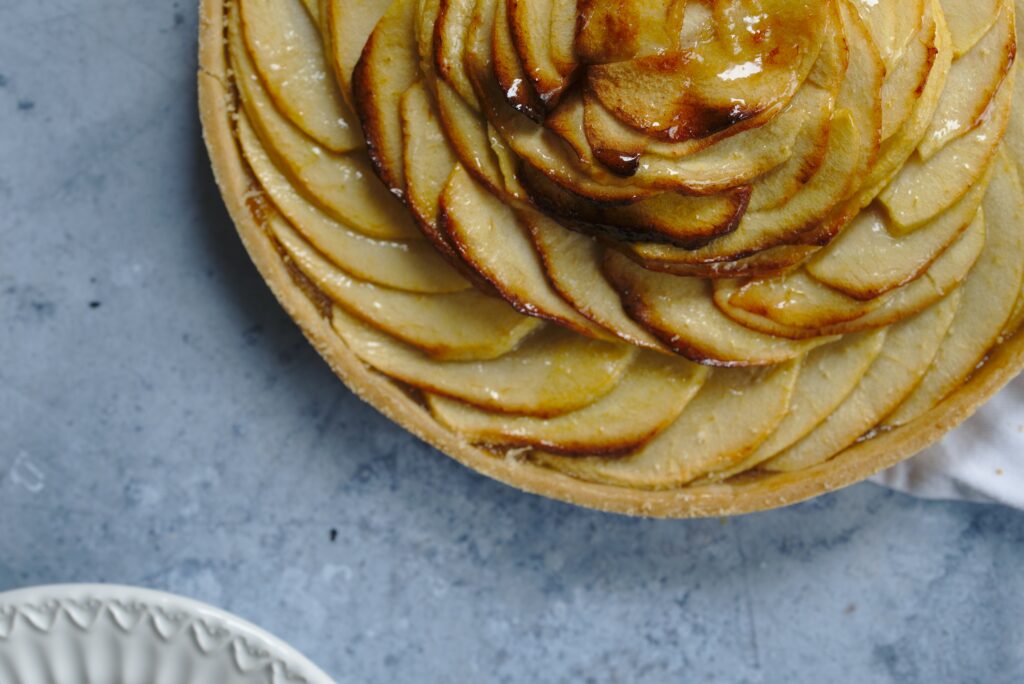
Pâte à foncer- Pastry Shell
If you have been following my progress, pâte à foncer has been one of the most common tart crusts that I have shared with you. I haven’t done this purpose, it’s just worked out like that!
Cut the butter into the flour to create a sand like consistency. Then the egg and milk (where the salt and sugar have been dissolved) is added to the mixture. After a rest in the fridge, you’ll need to roll it out into a circle and line your tart pan. Let the lined tart shell rest in the fridge until needed.
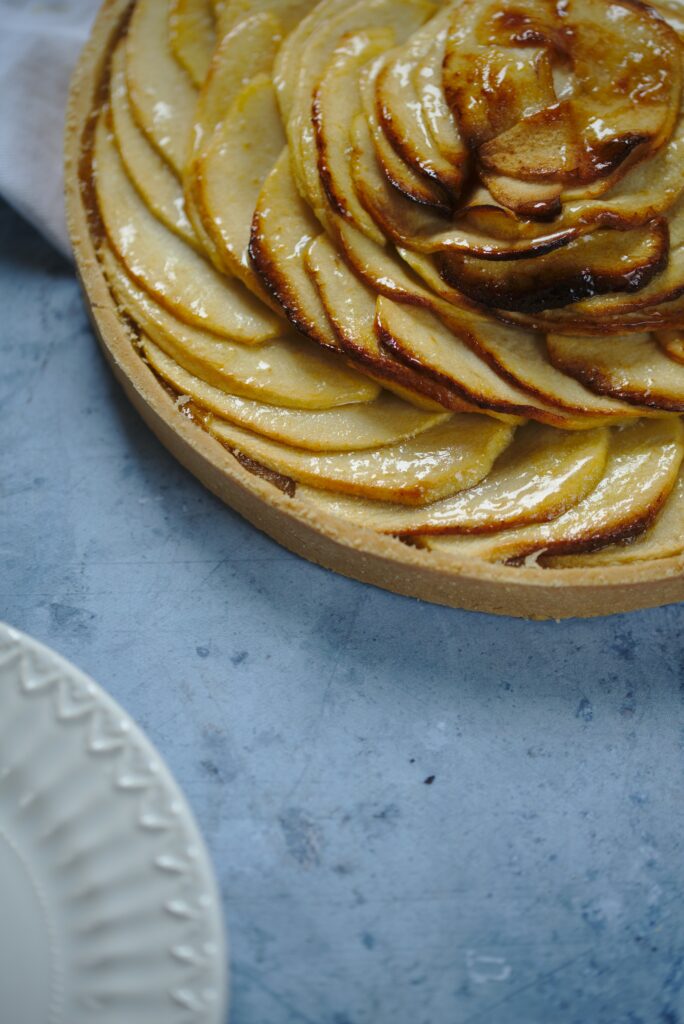
Tart Filling
The apple filling is so easy to throw together and can be done at any time. I suggest using Golden Delicious apples as they break down quite quickly, but feel free to use any type of apple, the filling might just take longer to cook.
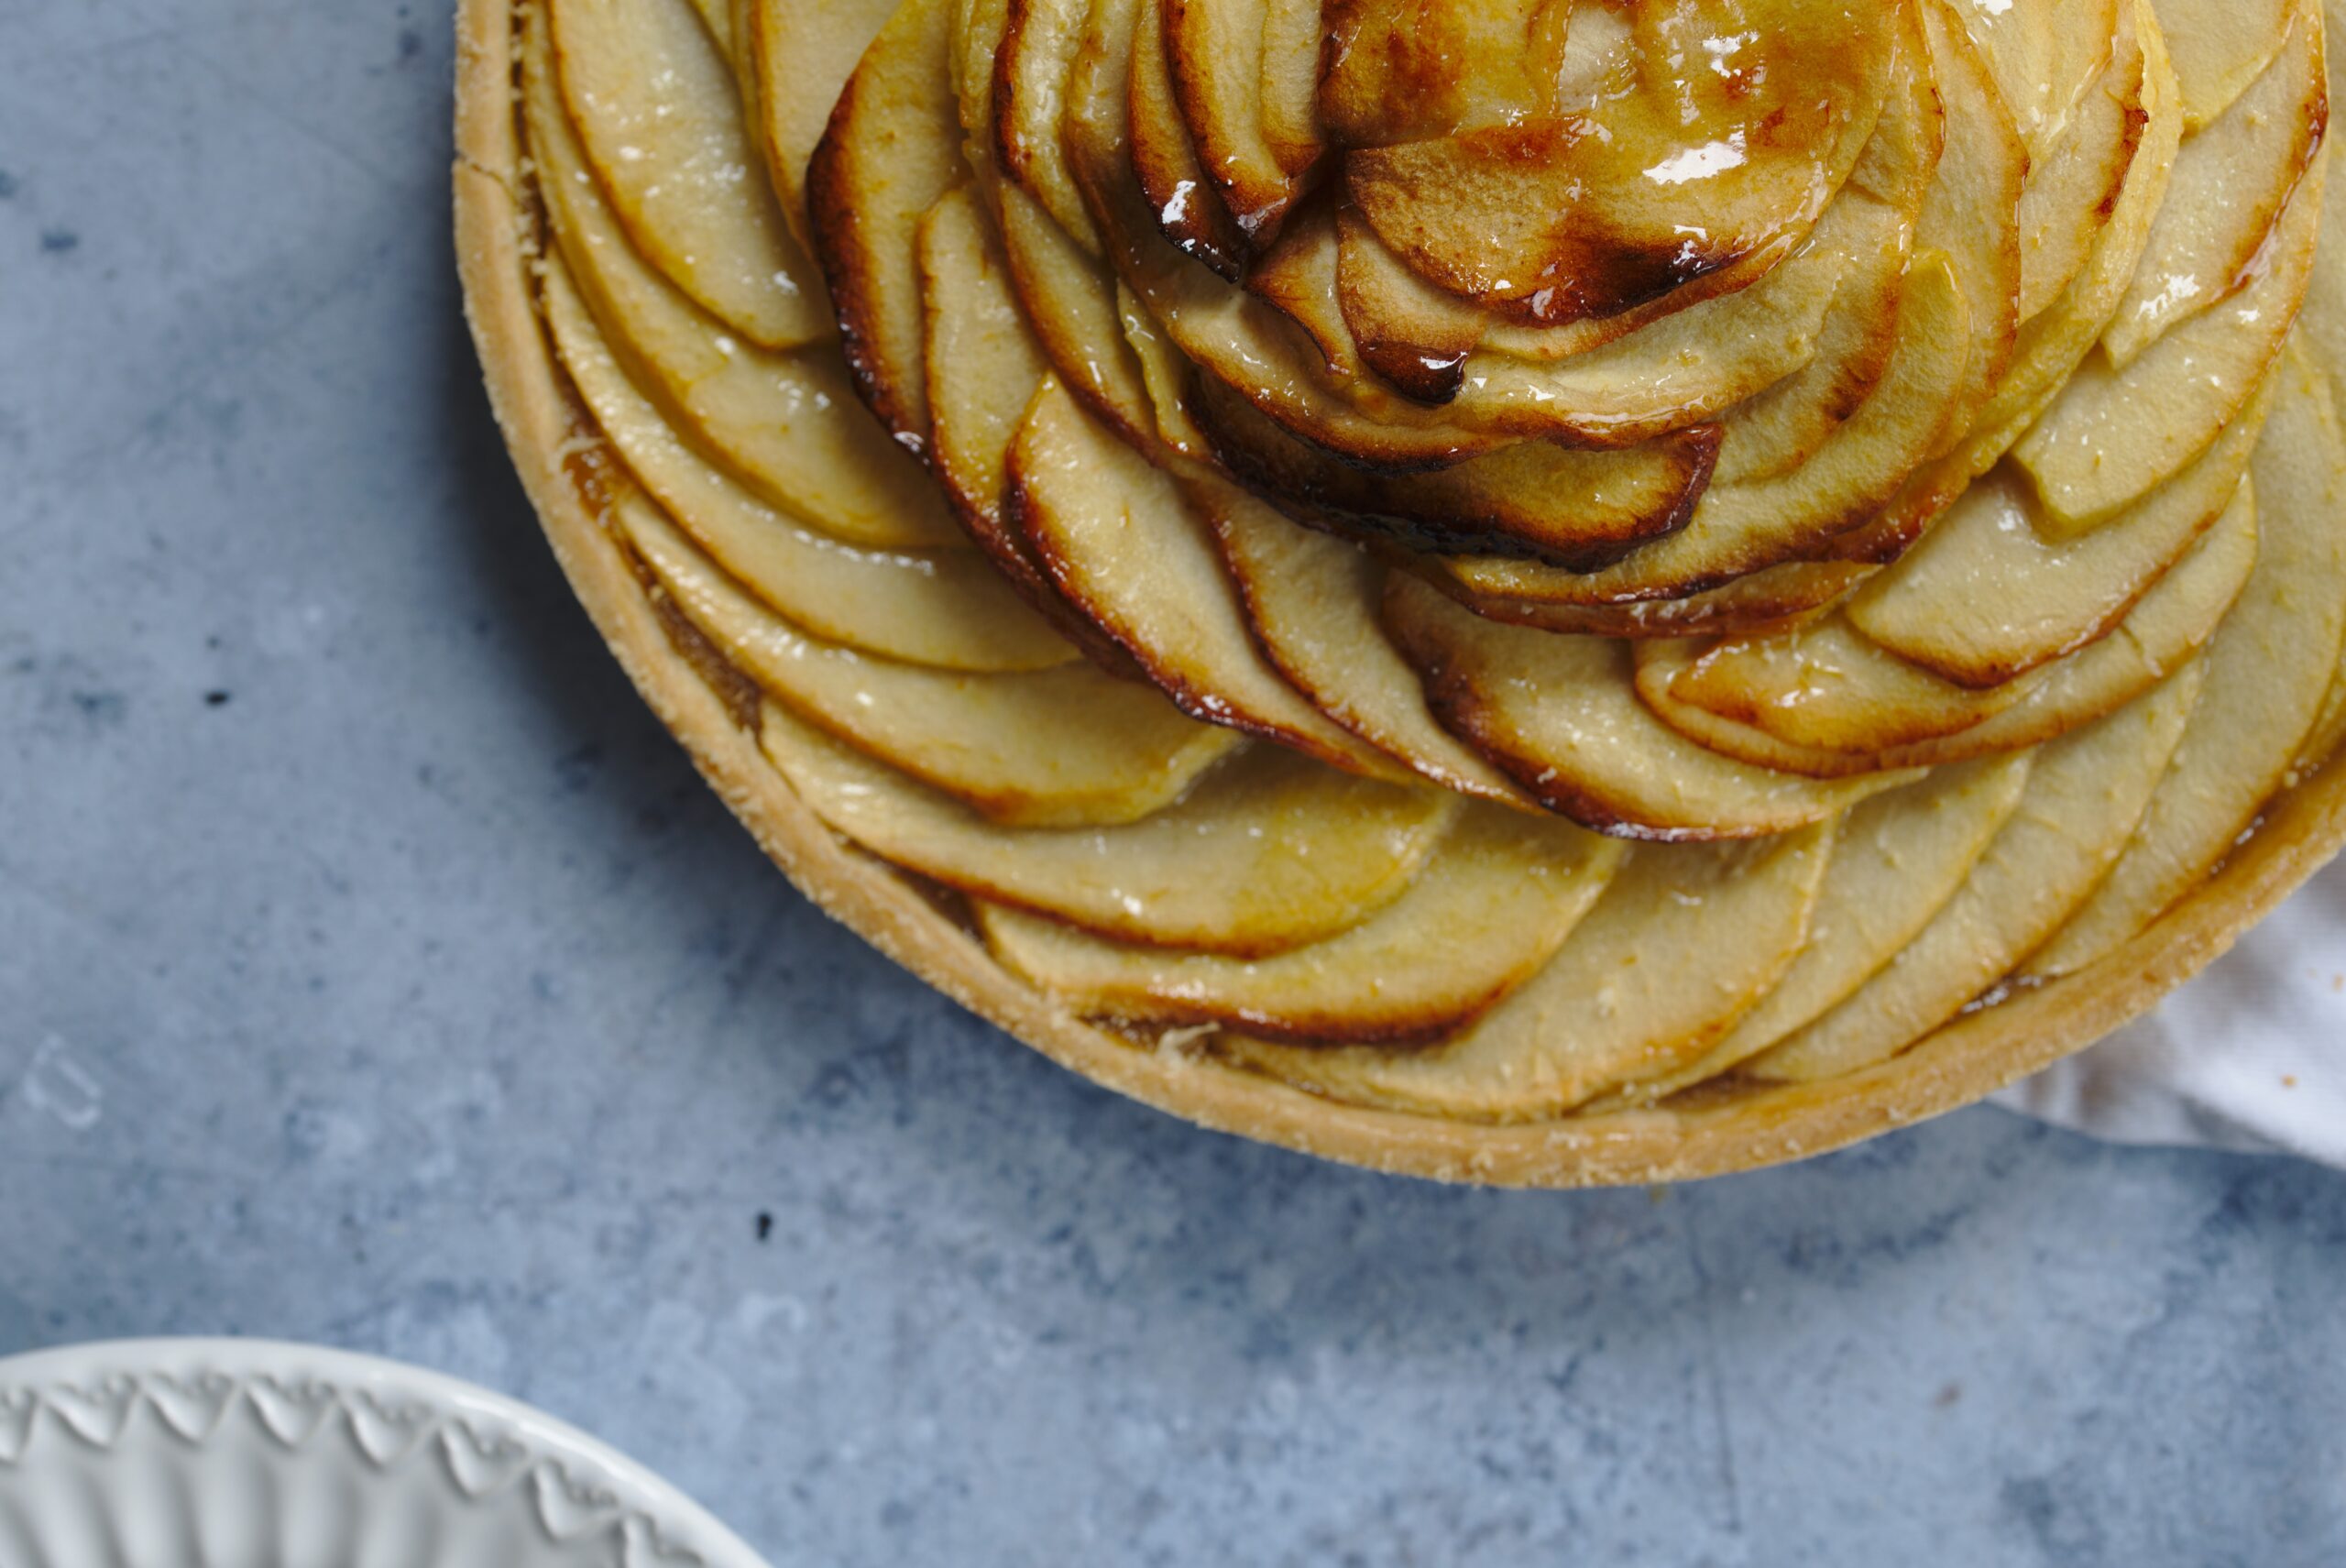
Apple slices will cover the apple sauce. You can arrange them in any way you wish, the trick is to have even slices of apple. For the exam, it’ll depend on what they request but it will most likely be a rosace, as pictured.
French Apple Tart
Ingredients
Equipment
Method
- In the bowl of a mixer, add the flour and butter. Mix until you have a sand-like consistency.
- Add the salt to the liquids. Then add all liquids to mixture. Mix briefly, until things just start to come together.
- Dump the continents of the mixing bowl out onto the countertop and push the ingredients away from you and against the counter top, using the palm of your hand. Repeat 3-4 times or until the mixture is homogeneous and there are no large clumps of butter left.
- Wrap in plastic wrap and let chill in the fridge for 30 minutes.
- After the dough has chilled, roll it out into a circle. Place your tart circle (or pan) on top of the dough and trim, leaving about two fingers width of extra dough.
- If your dough has warmed up too much, place on a baking sheet and transfer back to the fridge for 10 minutes before moving onto the next step.
- Place the dough on top of the tart circle (or pan) and work the dough into the corners. With the rolling pin, roll over the top of the pan to remove the excess dough.
- Smooth out the sides once more with your thumbs and use a pairing knife to cut off the excess dough. Dock the bottom of the tart shell and transfer to the freezer for 20 minutes.
- Peel, core and cut the apples in small pieces. Transfer to a sauce pan with a bit of water, sugar and vanilla.
- Cook covered on medium heat for 15 minutes or until the the apples break down.
- Off the heat, add the butter and mix until melted. I like to use a plunger blender to smooth out the mixture but it is not necessary. Transfer to a bowl and let cool.
- Peel, core and slice the apples thinly and as even as possible. If you have a mandolin, this is best, if not, you can do it by hand.
- Organize the apple slices by size. Save longer slices for the exterior rim and the smaller pieces for the center rings. Any of the oddly shaped ends can be saved to use as a filler under the center rings, to keep those levels even.
- In the chilled tart shell, add an even layer of apple sauce filling.
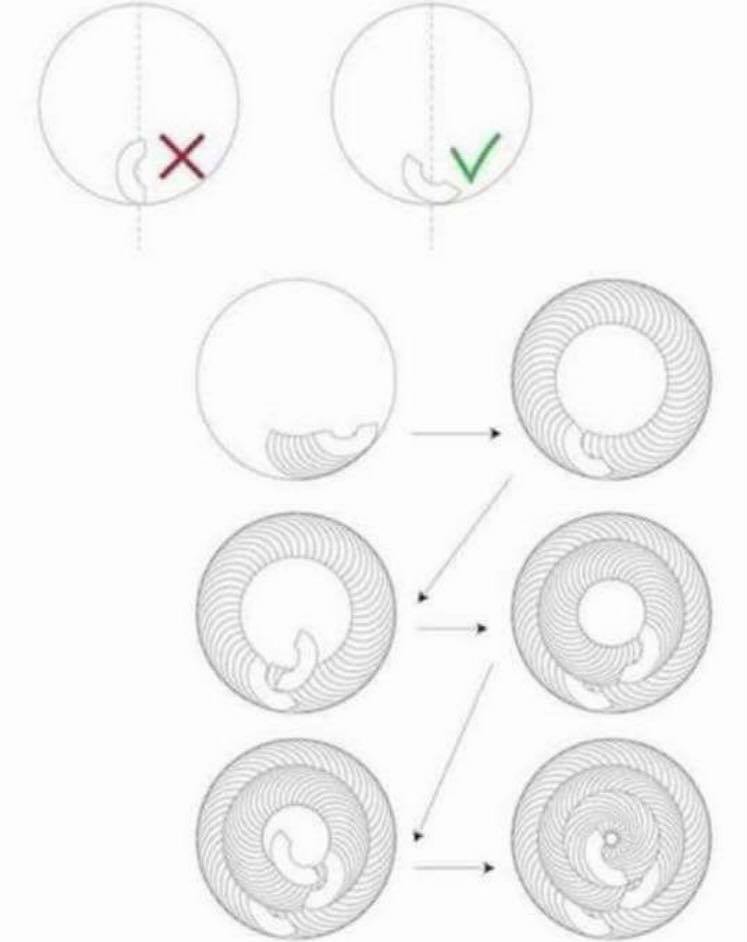
- With one of the larger slices of apple, lay it on the apple sauce with the side of apple slice (not the tip) touching the edge of the tart shell. It should be slanted to about 30°. Continue adding apple slices, overlapping with the previous slice. Once you've finished the first layer, tuck the last apple under the first to create a continuous ring.
- Add the odd bits and ends to the middle of the tart, then start with your second ring of apple slices, going in the opposite direction of the first. Continue until the entire tart is covered.
- Bake at 180°c (350°F) for about 1 hour, or until all of the apples are cooked and edges are golden brown.
- Warm up some apricot jelly or nappage blonde and brush a layer over the apples when the tart comes out of the oven.



Great recipe thank you for sharing