To be honest, my relationship with fresh homemade pasta is quite a young one. Much to Mr. Hubbys’ delight, my dad taught me how to make pasta when we were visiting them in Mérida last year and it turns out, homemade pasta is easy, delicious and a bit therapeutic to make, much to my surprise!
Personally, I have never been that crazy about pasta. I don’t hate it, but it’s not really anything I have ever craved either. I am still working on loving pasta but this fresh pasta recipe has me going down the right path!
When I moved to France, it was quite surprising to find out that you could get fairly quality fresh pasta for about the same price as dried, as that was not the case back home. Pasta is one of Mr. Hubbys’ favorite foods, so we always used to buy fresh pasta and have a backup box of dried pasta in the back of the cupboard for “emergencies”. That is, until our trip to Mexico. As soon as we got back from vacation, our first purchase was a set of pasta roller attachments for the Kitchenaid and a pasta drying rack. And thus began, my pasta adventure.
Now days, if pasta is on Mr. Hubbys’ mind, I’ll turn on some music, whip together some pasta dough and a short time later, we’re dishing up fresh al dente pasta, that even I enjoy eating!
Homemade Egg Pasta
Ingredients
Equipment
Method
- To make the pasta dough by hand- make a well of flour on your counter top. Add egg yolks, egg, milk and oil to the well & swirl with your finger, slowly pulling flour from the edges. Continue until all the liquid is integrated. Knead the dough until smooth and fairly firm but not sticky.
- If you want to use your stand mixer- combine all of the ingredients into the mixer bowl and use the dough attachment. Mix the dough until almost entirely mixed. Pull the dough out onto a lightly floured counter top and knead until the dough is smooth.
- Double wrap in plastic wrap and let rest for a minimum of 45 minutes at room temperature.
- Once the dough has rested, you'll want to cut off small chucks of dough, about an inch or so long. Lightly flour the dough and fold. This next step is going to start working the gluten in the dough.
- Using your pasta roller, start with the widest setting. On my Kitchenaid attachment, this is setting number #1. Pass the dough through the roller, then fold in thirds and rotate so that straight edges are on the side and send it through again. Repeat. If you find you need a bit more width to the dough, fold in half, rather than in thirds. You'll find that the feel of the dough changes the more you work it. Flour the dough as needed and continue to run it through until the dough is smooth and elastic.
- Increase the roller setting to “2” & roll through once, flouring as needed. Repeat, changing the settings after each roll.
- If making tagliatelle, I generally only go up to #6. After which, I cut the sheet of pasta in two (if it's really long), flour both sides and run through the tagliatelle attachment.
- Hang the pasta on the pasta drying rack and continue the process until all of the dough is rolled. If you find that your dough is scrunching up whole rolling through the pasta cutter, this means you didn’t flour the dough enough. Don’t fret, just make sure your next sheet is floured more.
- Once your pasta is all rolled out, go ahead and cook in salted water. Fresh pasta only takes about 3-4 minutes to cook. Serve with your favorite sauce!
TIPS
- I would suggest making it a couple times by hand first, so you get used to the “feel” of the dough and how the end product should be, then switch to the stand mixer.
- Due to various factors, you may find your dough being a bit dryer than previous times, so you may need to add a bit more milk for the dough to come together.
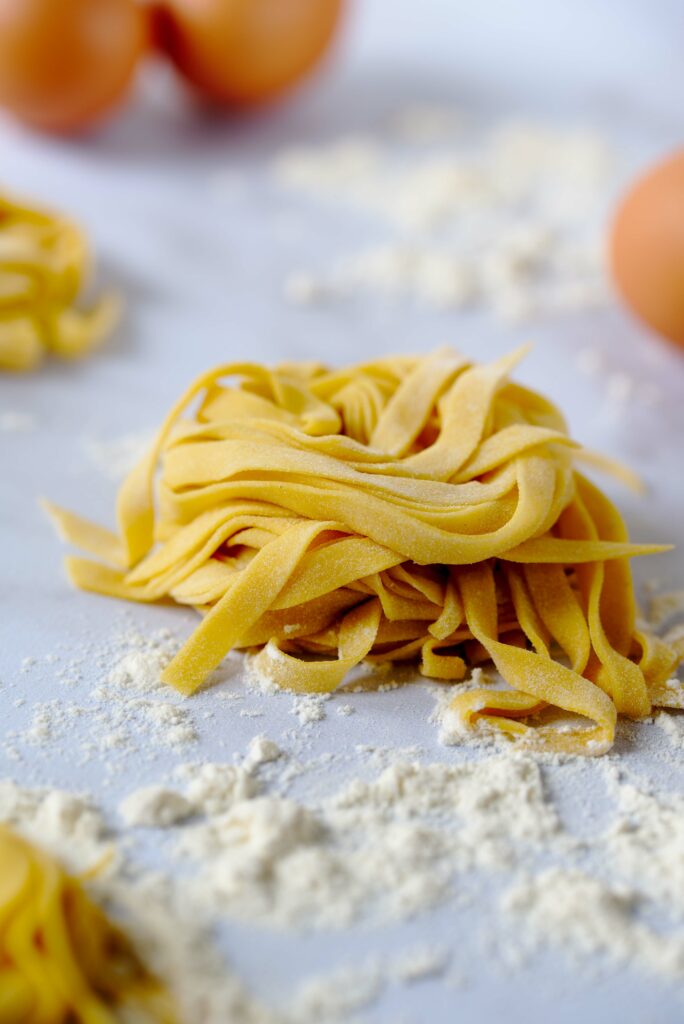
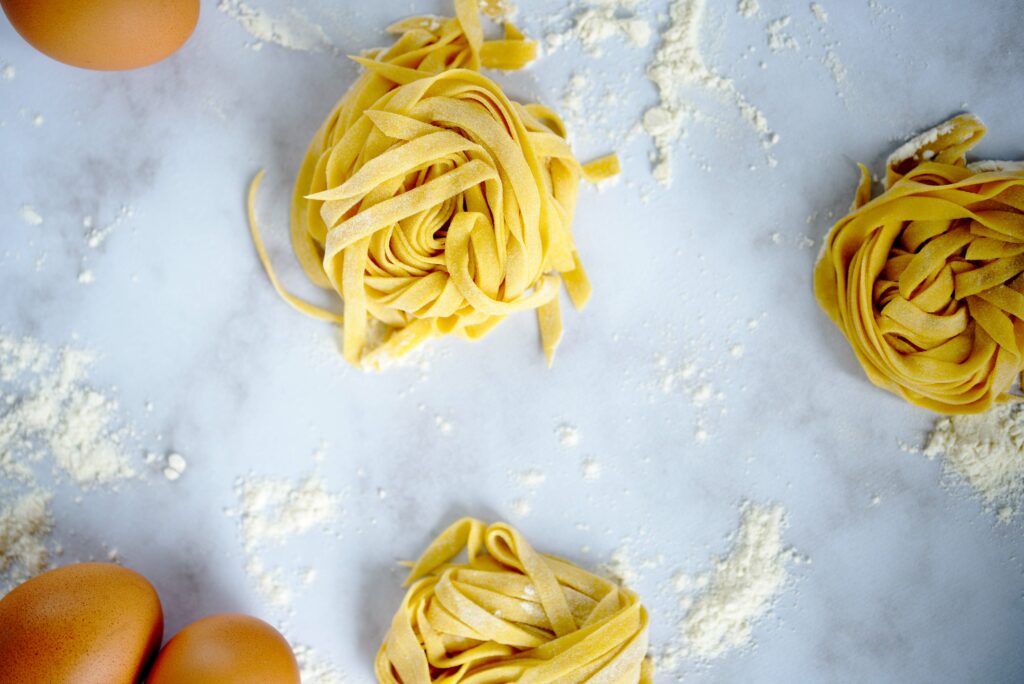
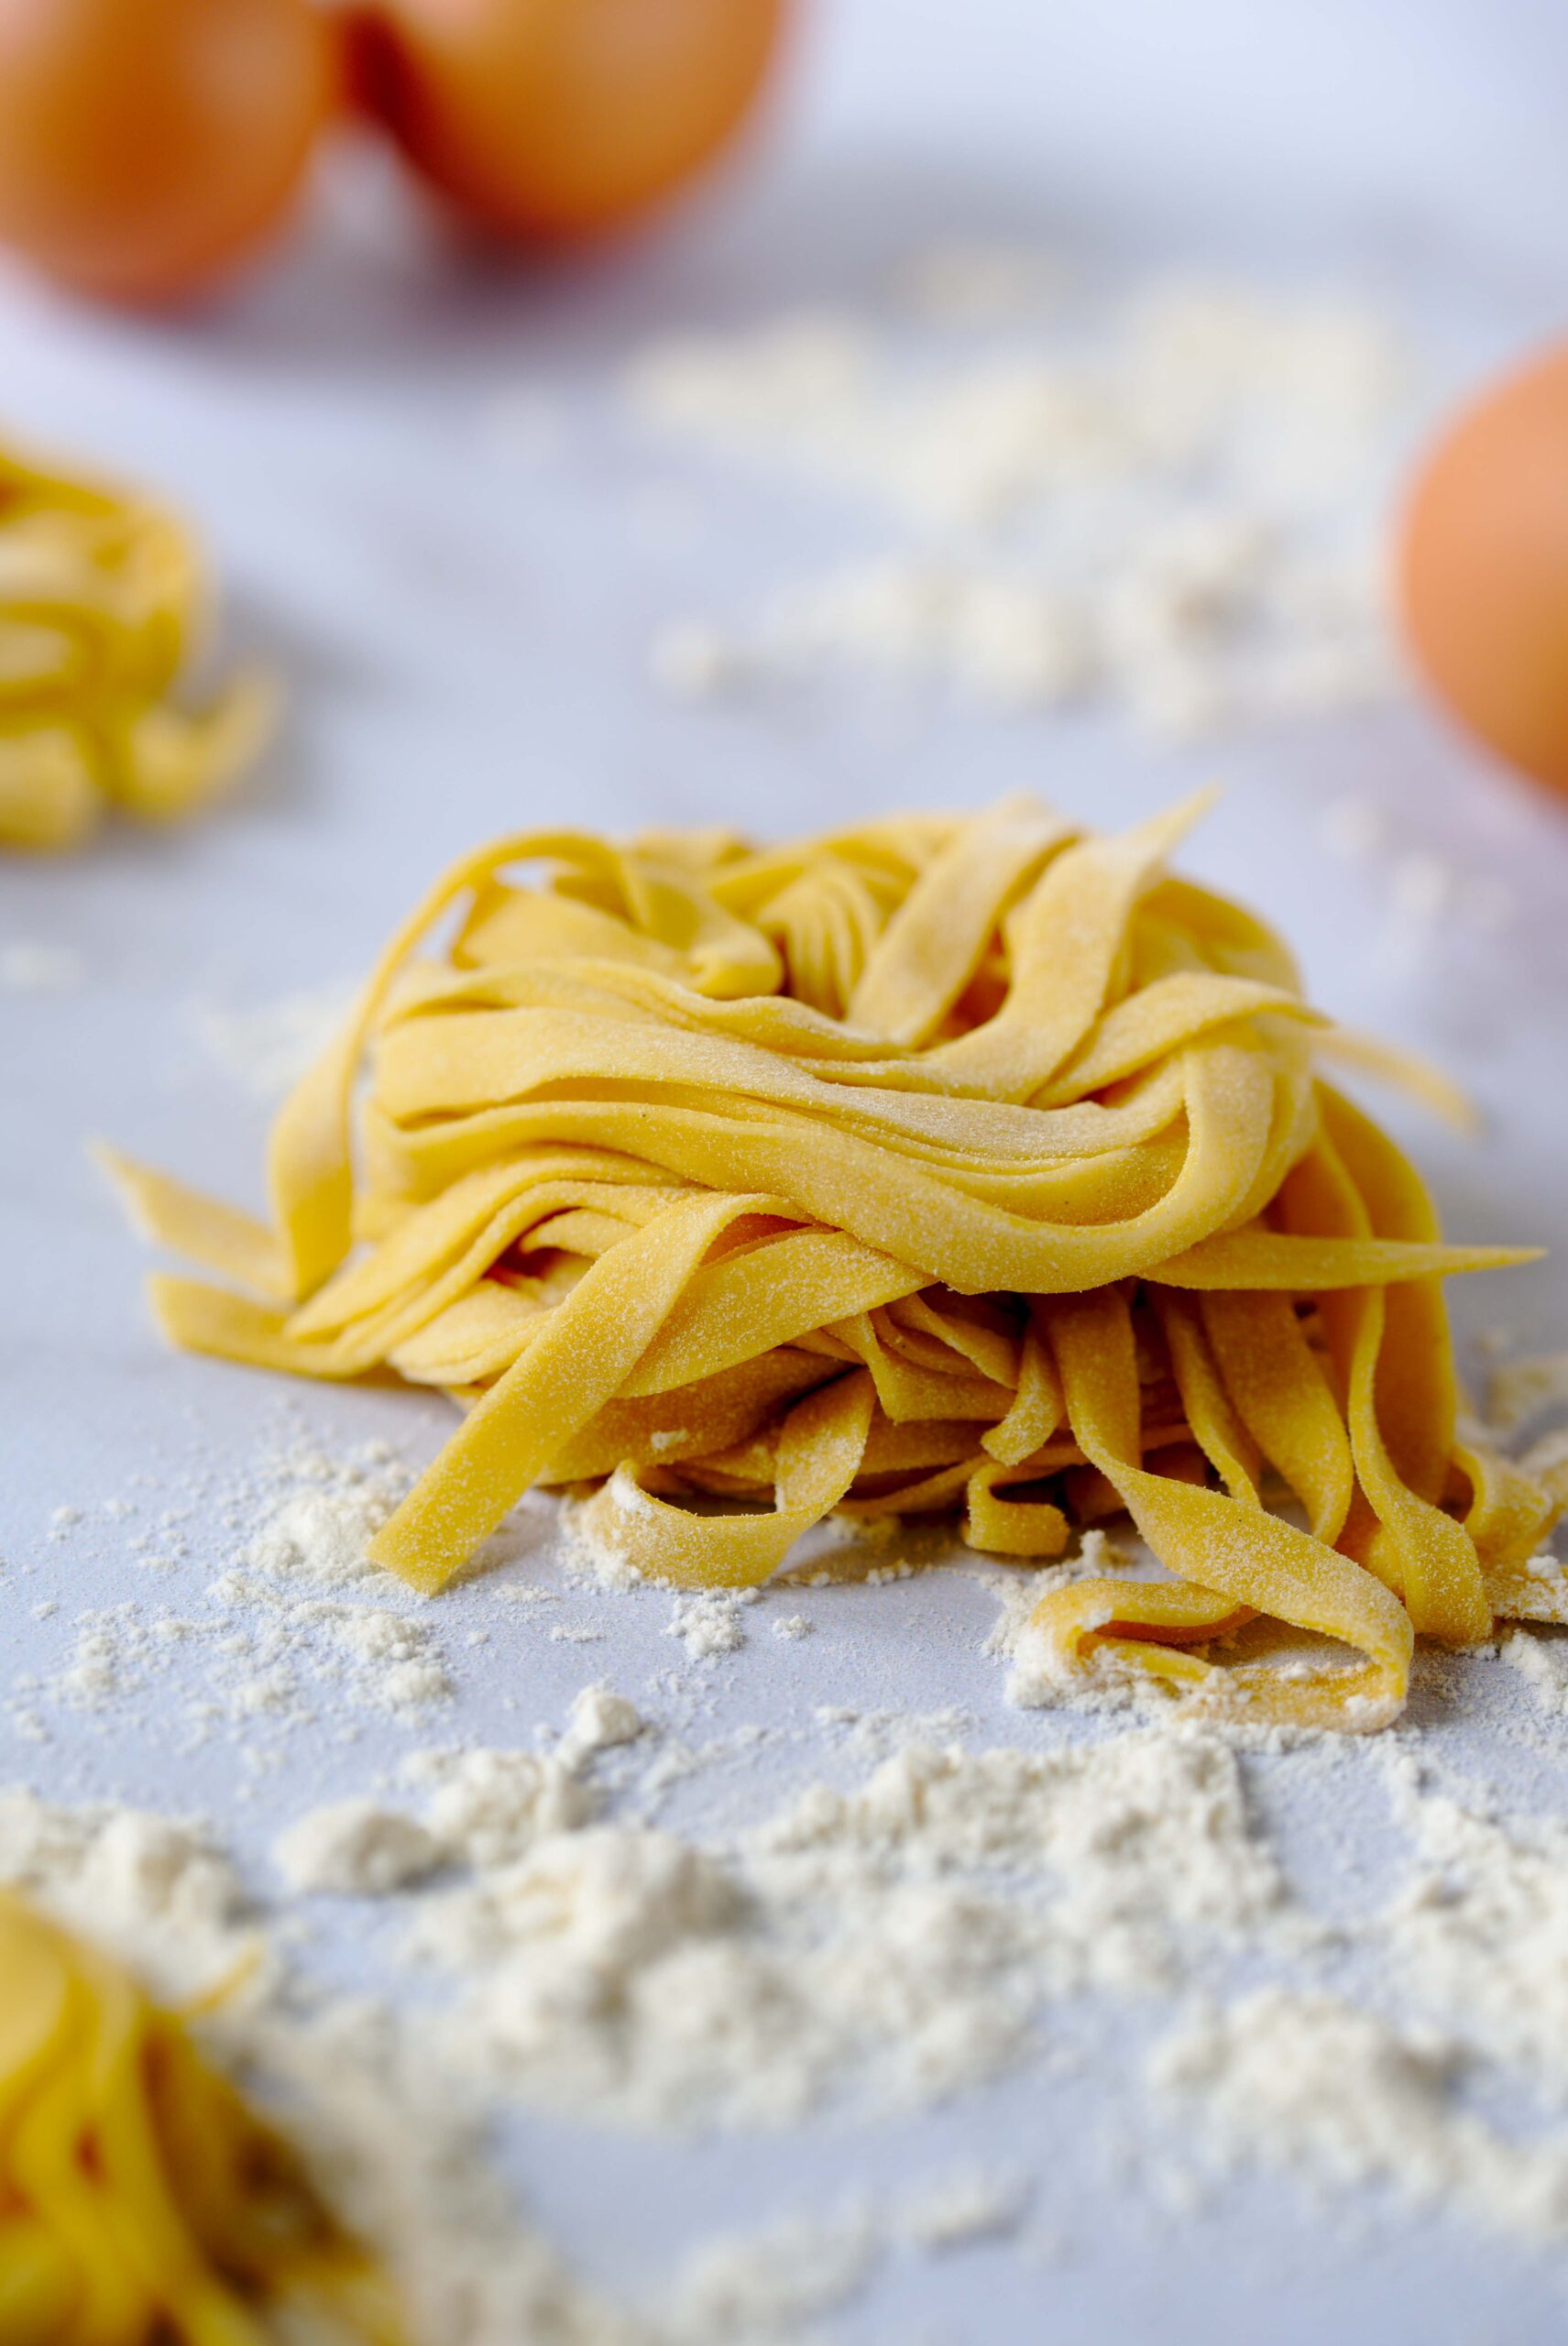
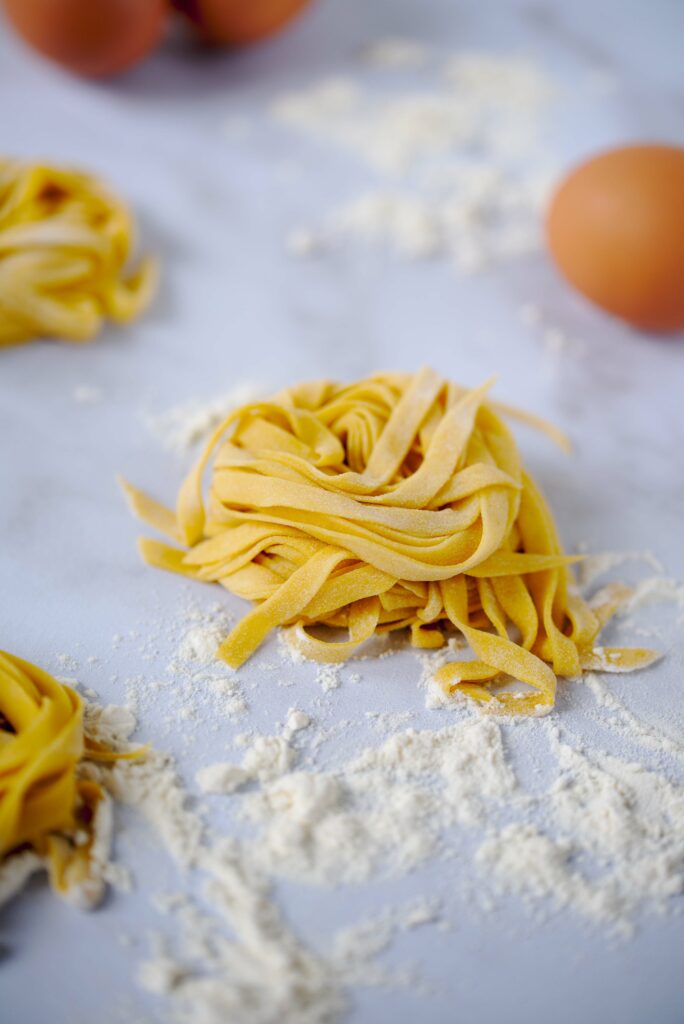
- You can dry your pasta for later use if needed. In this case, leave it on your pasta rack until fully dry which will depend on your climate. You can also dry pasta in “nests” as seen in the photos above. Place on a piece of parchment paper and let dry for 4-5 hours then flip, allowing the other side to dry completely for an additional 3-4 hours or until fully dry. Then store your dried pasta in a sealed container for a a maximum of one month.
- Cooking time for the dried pasta will be about 10 minutes.

